'Mars Webcam' offline for low-bit-rate season
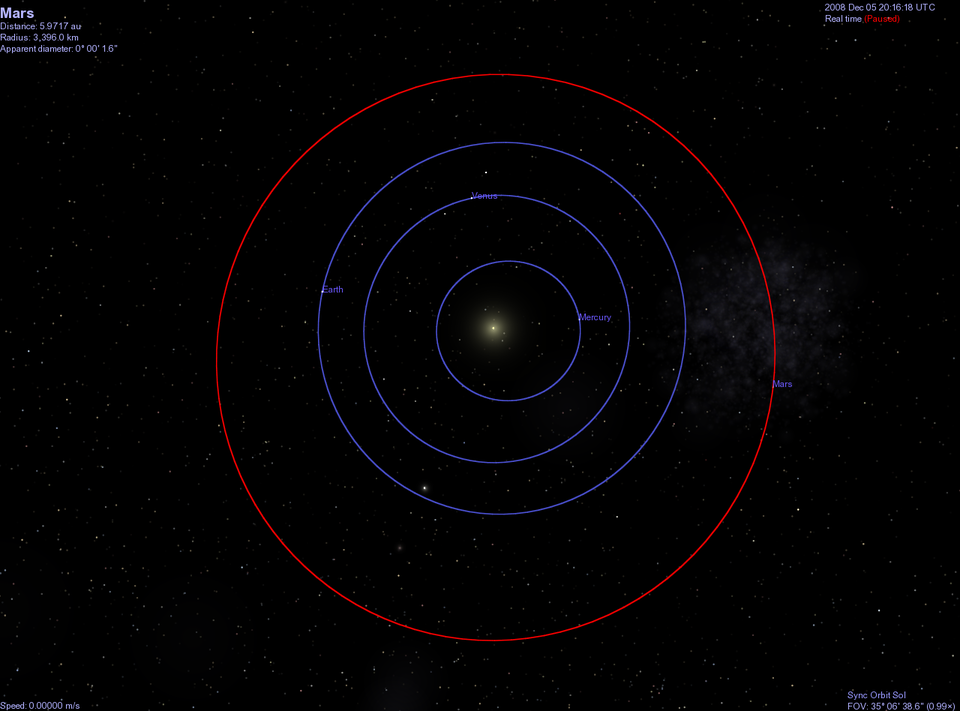
On 5 December 2008, Mars and Earth lined up on opposite sides of the Sun, forcing radio signals between the ground and the spacecraft to pass through the Sun's turbulent upper atmosphere. This marks the start of 'low-bit-rate season', and the Visual Monitoring Camera - the 'Mars Webcam' on board Mars Express - is now temporarily offline.
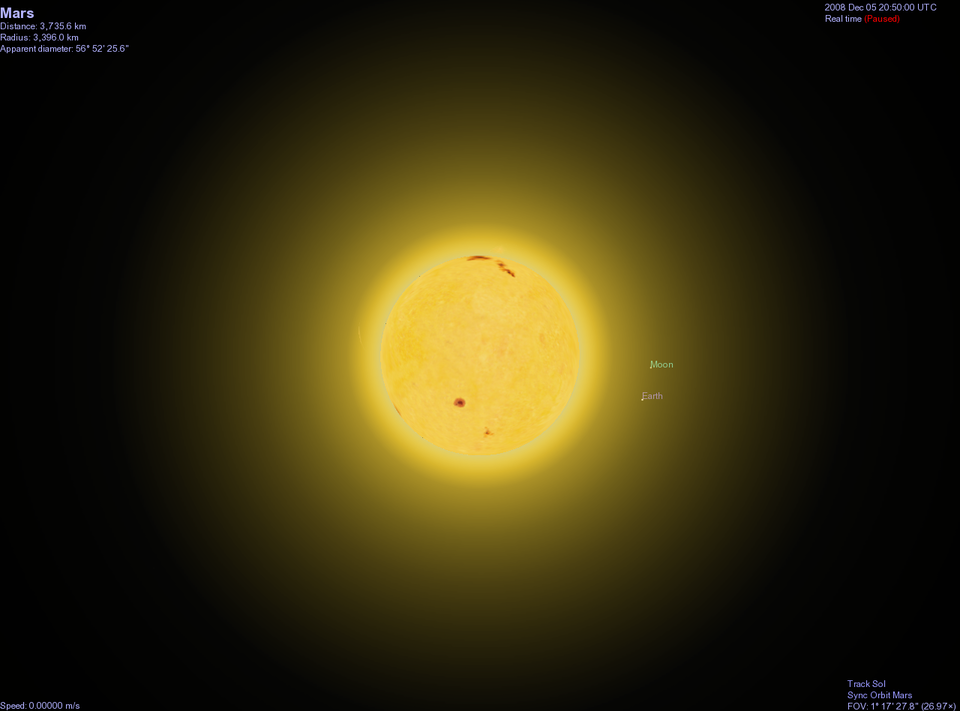
As it lined up in opposition to Earth, Mars passed the point of superior conjunction – the planet appeared next to the Sun in the sky as seen from Earth - at 20:50 UTC (21:50 CET) on 5 December. This means that over the past few weeks until the end of 2008, the line of sight for the radio link between Earth and Mars runs very close to the Sun, which can seriously affect radio signals.
Therefore, Mars Express mission controllers have prepared the spacecraft for a hibernation period lasting about a month. This hibernation is necessary for the survival of the spacecraft and it means that most scientific instruments will be shut off. It also means no contact with the VMC (Visual Monitoring Camera) – no commands can be sent up and no data can be downloaded.
Mars: 370 000 000 km
When Mars Express comes out of hibernation and resumes scientific observations, it will have just passed its furthest distance from Earth in the past two years (over 370 000 000 km) and will remain quite distant from the Earth into 2009. At these distances, it will take radio signals about 20 minutes to travel from ground stations to the spacecraft.
To decode the data signals over these immense distances, it is necessary for the bit rate - the speed at which data is radioed to Earth - to be lowered significantly, to 45 700 bits/second - about the same as a dial-up Internet connection.
However, this 'low-bit-rate season' coincides with perfect observing conditions for some of the spacecraft's primary scientific instruments, including the High Resolution Stereo Camera (HRSC). These instruments can generate over 1000 million bits of data (1 Gigabit) in a single observation, with observations scheduled up to three times daily.
The large amounts of data generated will be downloaded at the low transmission rate, meaning that low-priority activities - including VMC imaging - will be suspended and the Mars Webcam will remain in hibernation for longer.
The VMC took its last, pre-hibernation images on 15 November. The final images have been posted on the VMC website. Below are a few select images taken during 2008 and processed by keen amateurs, whose names are credited with their results.
The Mars Webcam is expected to be back in operation in early spring 2009. (More details on 2009 activities available in the VMC website.)
About the VMC
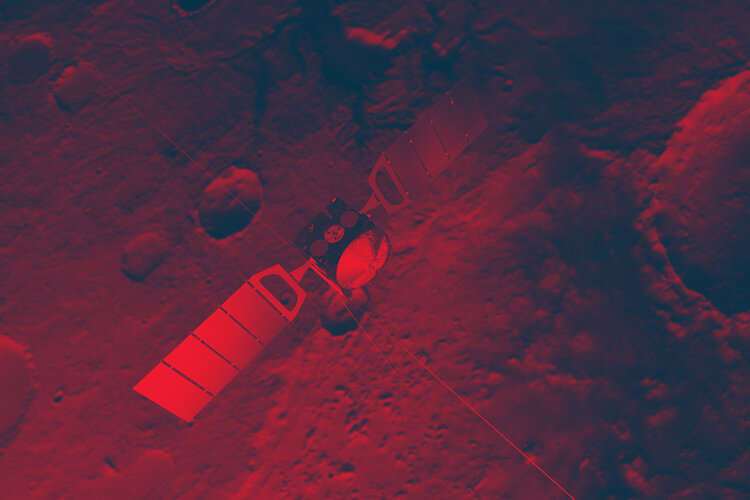
The Visual Monitoring Camera (VMC) is mounted on Mars Express, ESA's deep-space probe now orbiting the Red Planet. It originally provided simple, low-tech images of the Beagle lander separation, and is now back in action as the 'Mars Webcam'. It's not a scientific instrument, but it does provide fantastic views of Mars - including crescent views of the planet not obtainable from Earth.
More information
Mars Express Visual Monitoring Camera (VMC) - the 'Mars Webcam'
Selected images from 2008: Click on images below for full caption and details.